
Learn how to print and use stick and stitch PDF embroidery patterns from The Stitched Storybook! This easy step-by-step guide walks you through printing, applying, and stitching your designs — perfect for beginners who want to start embroidering today.
🌸 What Are Stick and Stitch PDF Patterns?
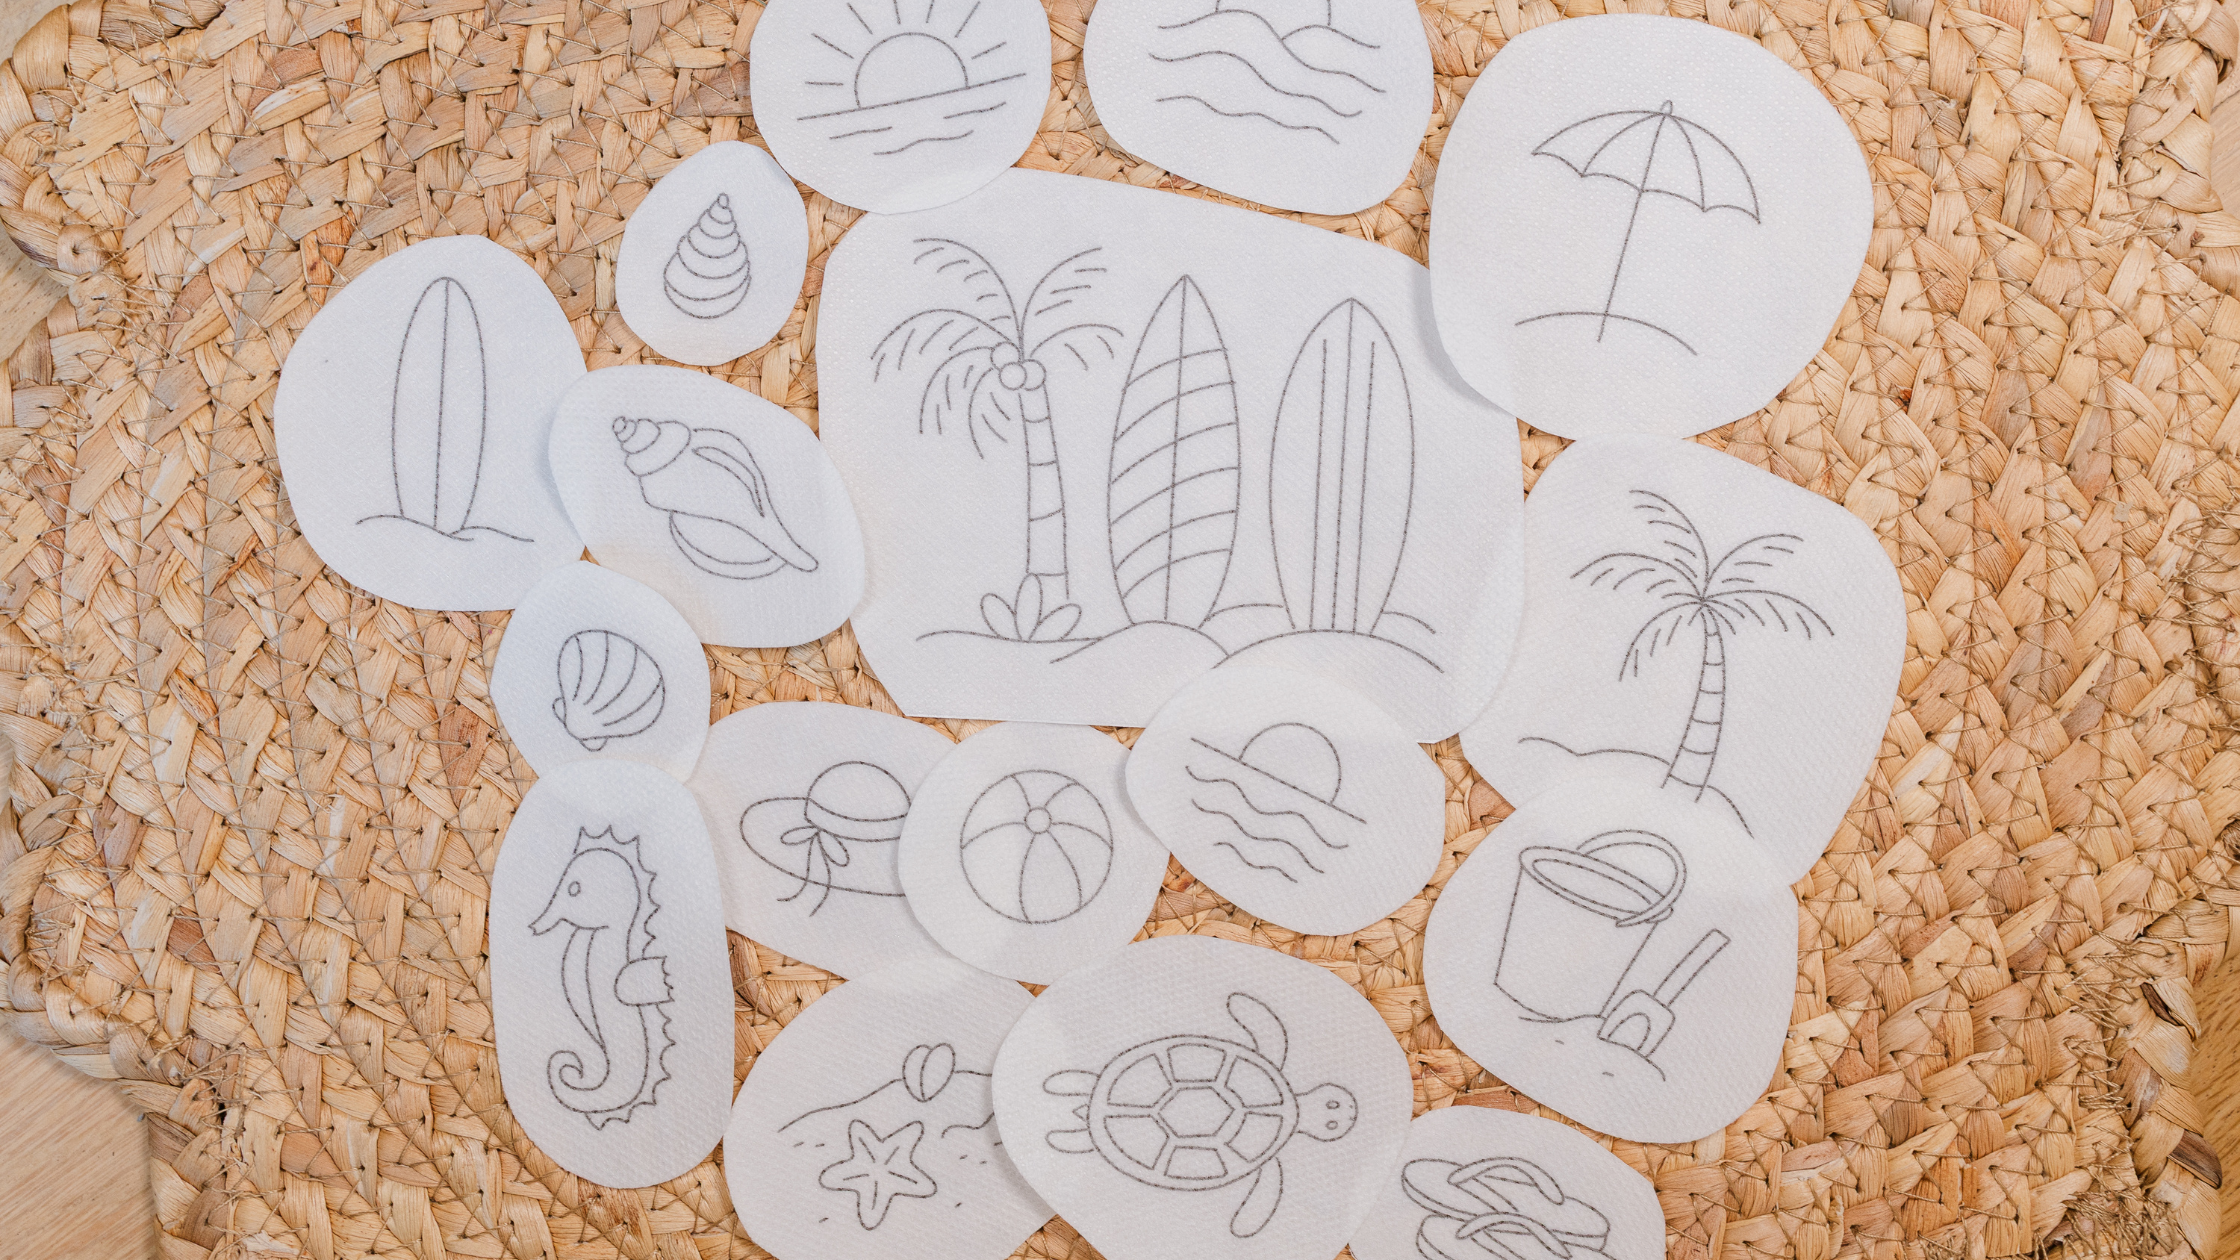
When you purchase a digital PDF pattern from The Stitched Storybook on Etsy, you receive a downloadable file with adorable, hand-drawn designs. You could either trace out the patterns (I love Pilot Frixion Heat Erasable Pens) or you simply print the sheet onto sticky, water-soluble stabilizer paper, cut out the designs, stick them on your fabric, and start stitching!

These printable patterns are perfect for:
- Hoop art and embroidery samplers
- Clothing (like denim jackets, baby onesies, and tote bags)
- Tea towels, aprons, and home décor projects
- Personalized gifts and handmade keepsakes
🖨️ What You’ll Need
To get started, gather the following supplies:
- Stick and stitch PDF pattern (available on my Etsy shop)
- Water-soluble sticky stabilizer sheets (brands like Sulky Stick ’n Stitch or DMC Magic Paper work well)
- Inkjet printer
- Fabric or clothing item
- Embroidery floss and needle
- Embroidery hoop
- Small scissors
- Warm water for rinsing
✂️ How to Print and Use Stick and Stitch PDF Patterns
1. Download Your PDF Pattern
After your Etsy purchase, you’ll receive an email with a download link.
Save the file to your computer so you can print it anytime you need a fresh set.
2. Print on Sticky Stabilizer Paper
Load your sticky stabilizer sheet into your printer (check that it’s inkjet-compatible).
Print your pattern at 100% scale or “actual size” — don’t resize it!
*** If your printer has a print quality menu, chose “draft print quality” to use less ink.
Let the ink dry for a few minutes before handling.
💡 Tip: You can test-print on regular paper first to check the layout.
3. Cut Out Your Designs
Use scissors to carefully cut around each design, leaving a small border.
Each motif can be used individually, so mix and match your favorites!
4. Stick It to Your Fabric
Peel off the backing paper and place the design sticky-side down on your fabric.
Smooth out any bubbles so it adheres evenly.
Now you’re ready to start stitching directly through the stabilizer!
5. Stitch Your Design
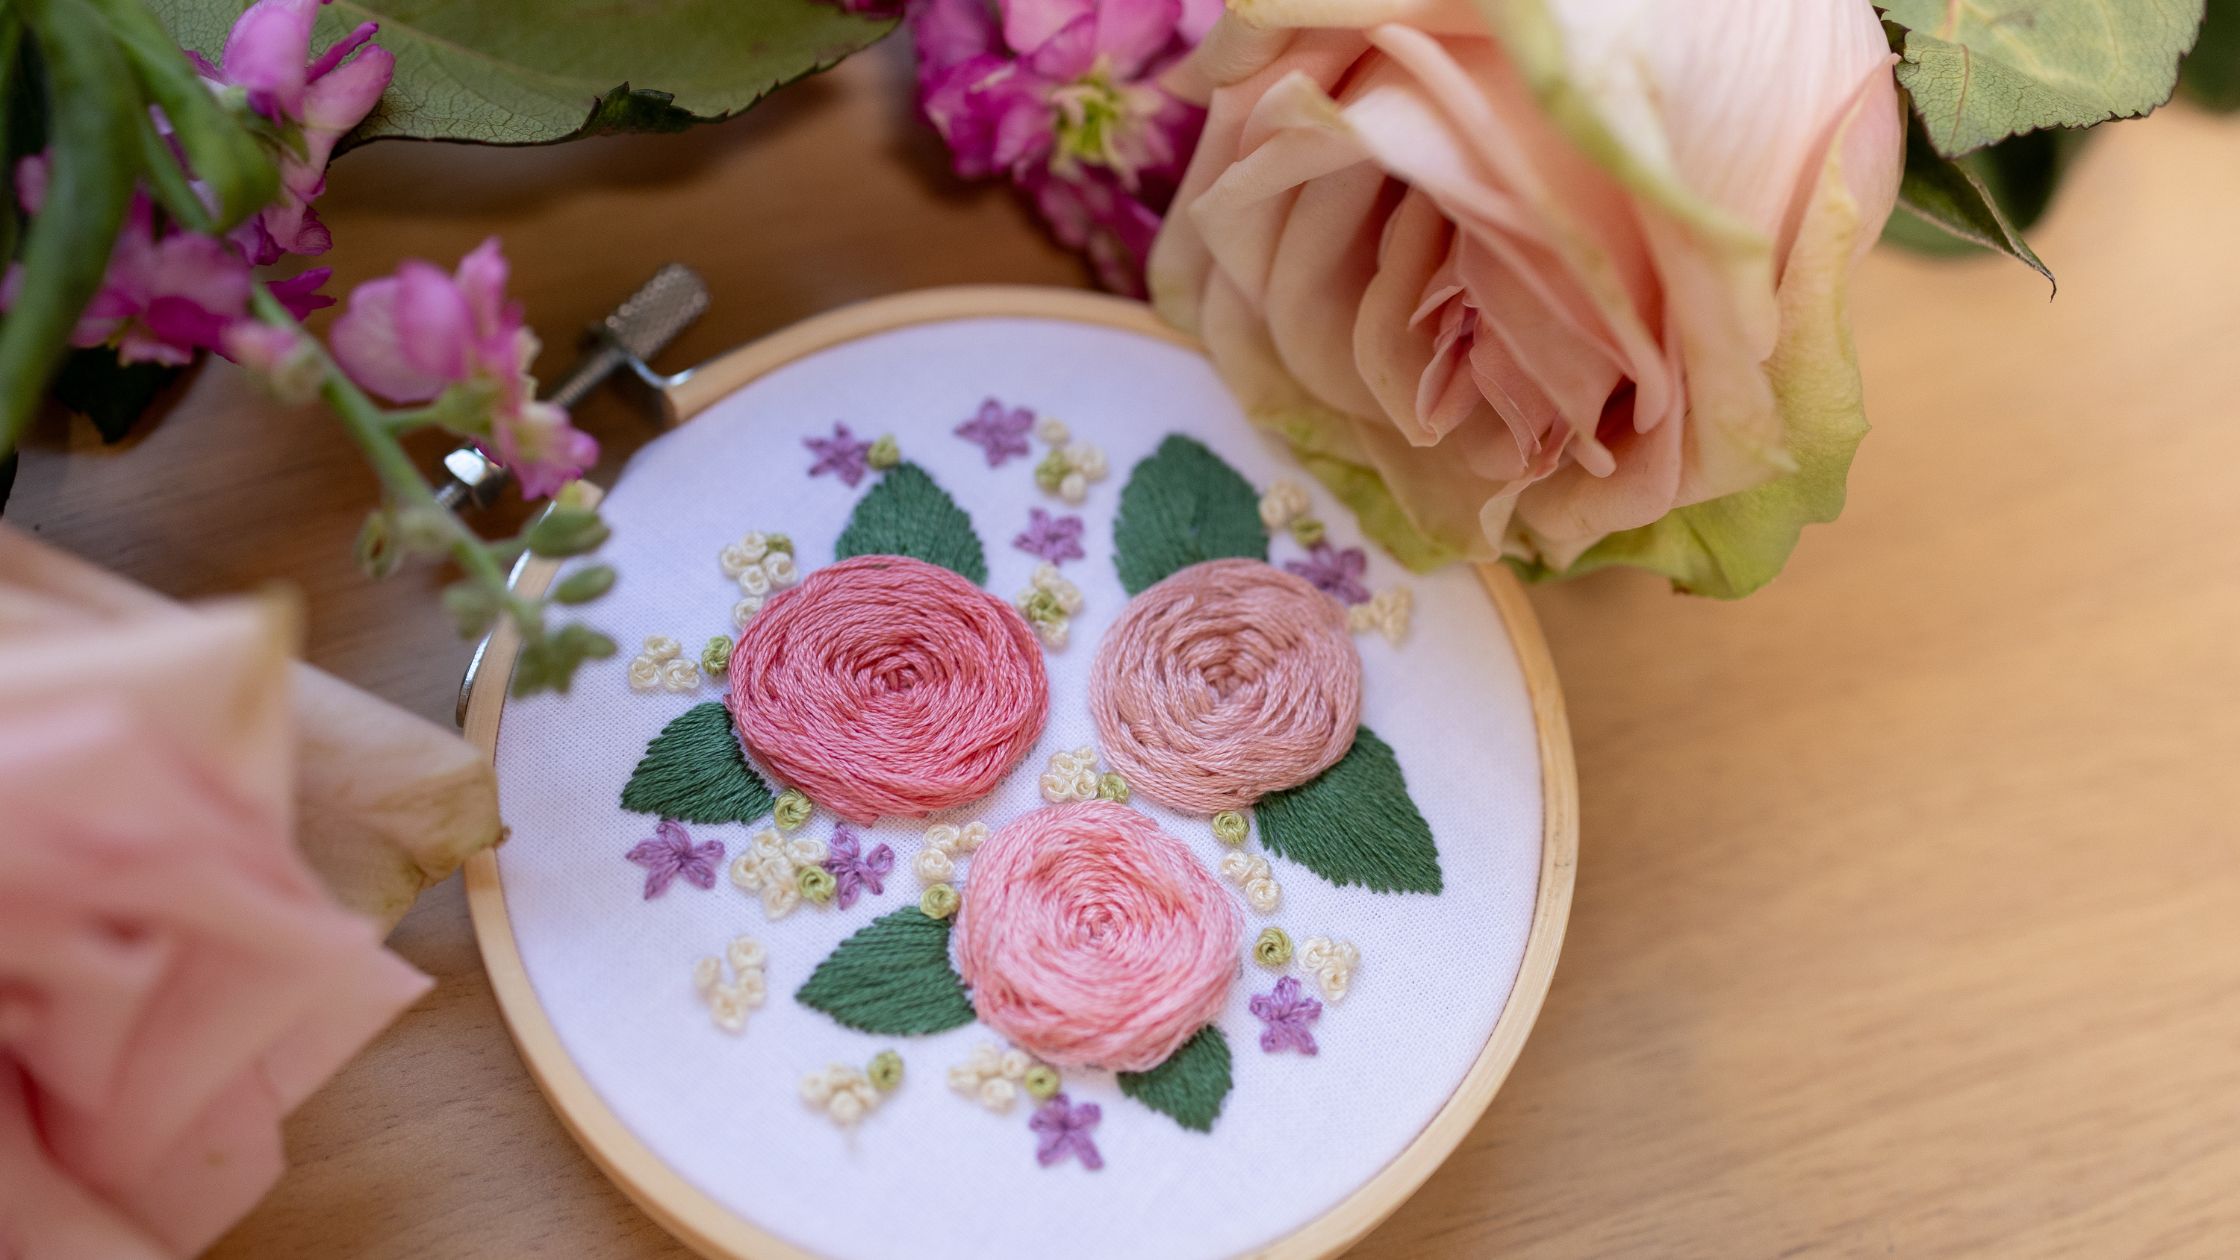
Secure your fabric in an embroidery hoop and begin stitching.
The stabilizer holds your fabric firmly in place and helps guide your stitches beautifully.
Use your favorite stitches—like backstitch, satin stitch, and French knots—to bring your design to life.

6. Rinse Away the Stabilizer
When your stitching is complete, trim any extra stabilizer around your design.
Soak your piece in warm water for 5–10 minutes, or until the paper fully dissolves.
Gently pat dry with a towel and let it air dry completely. See previous post for more detailed instructions.
🌿 Tips for Perfect Results
- Always print on the correct side of the stabilizer sheet (for my HP printer, I place it top down, double check for your model)
- Avoid using laser printers—they can melt the stabilizer!
- If stitching on clothing, wash the garment before applying the sticker.
- You can reuse your digital file as many times as you like—print it again whenever inspiration strikes!
💌 Why You’ll Love Printable Stick and Stitch Patterns
Printable stick and stitch patterns make embroidery accessible, portable, and fun.
You can print your favorite motifs anytime, on-demand, and add custom embroidery to any fabric surface.
Whether you’re a beginner or an experienced stitcher, you’ll love how simple it is to go from PDF to project in just minutes.
🧺 Ready to Start Your Next Project?
Browse my newest stick and stitch PDF pattern collections at
👉 The Stitched Storybook on Etsy
Each listing includes:
- A printable PDF file (reusable again and again!)
- Charming, storybook-inspired artwork
- A beginner stitch guide with illustrated instructions
Let’s bring your stitches to life — one story at a time. 🌷

Leave a Reply