
Learn how to use stick and stitch embroidery stickers with this easy step-by-step guide from The Stitched Storybook. Perfect for beginners who want to add hand embroidery to clothing, home décor, and gifts without tracing patterns!
🌼 What Are Stick and Stitch Embroidery Stickers?
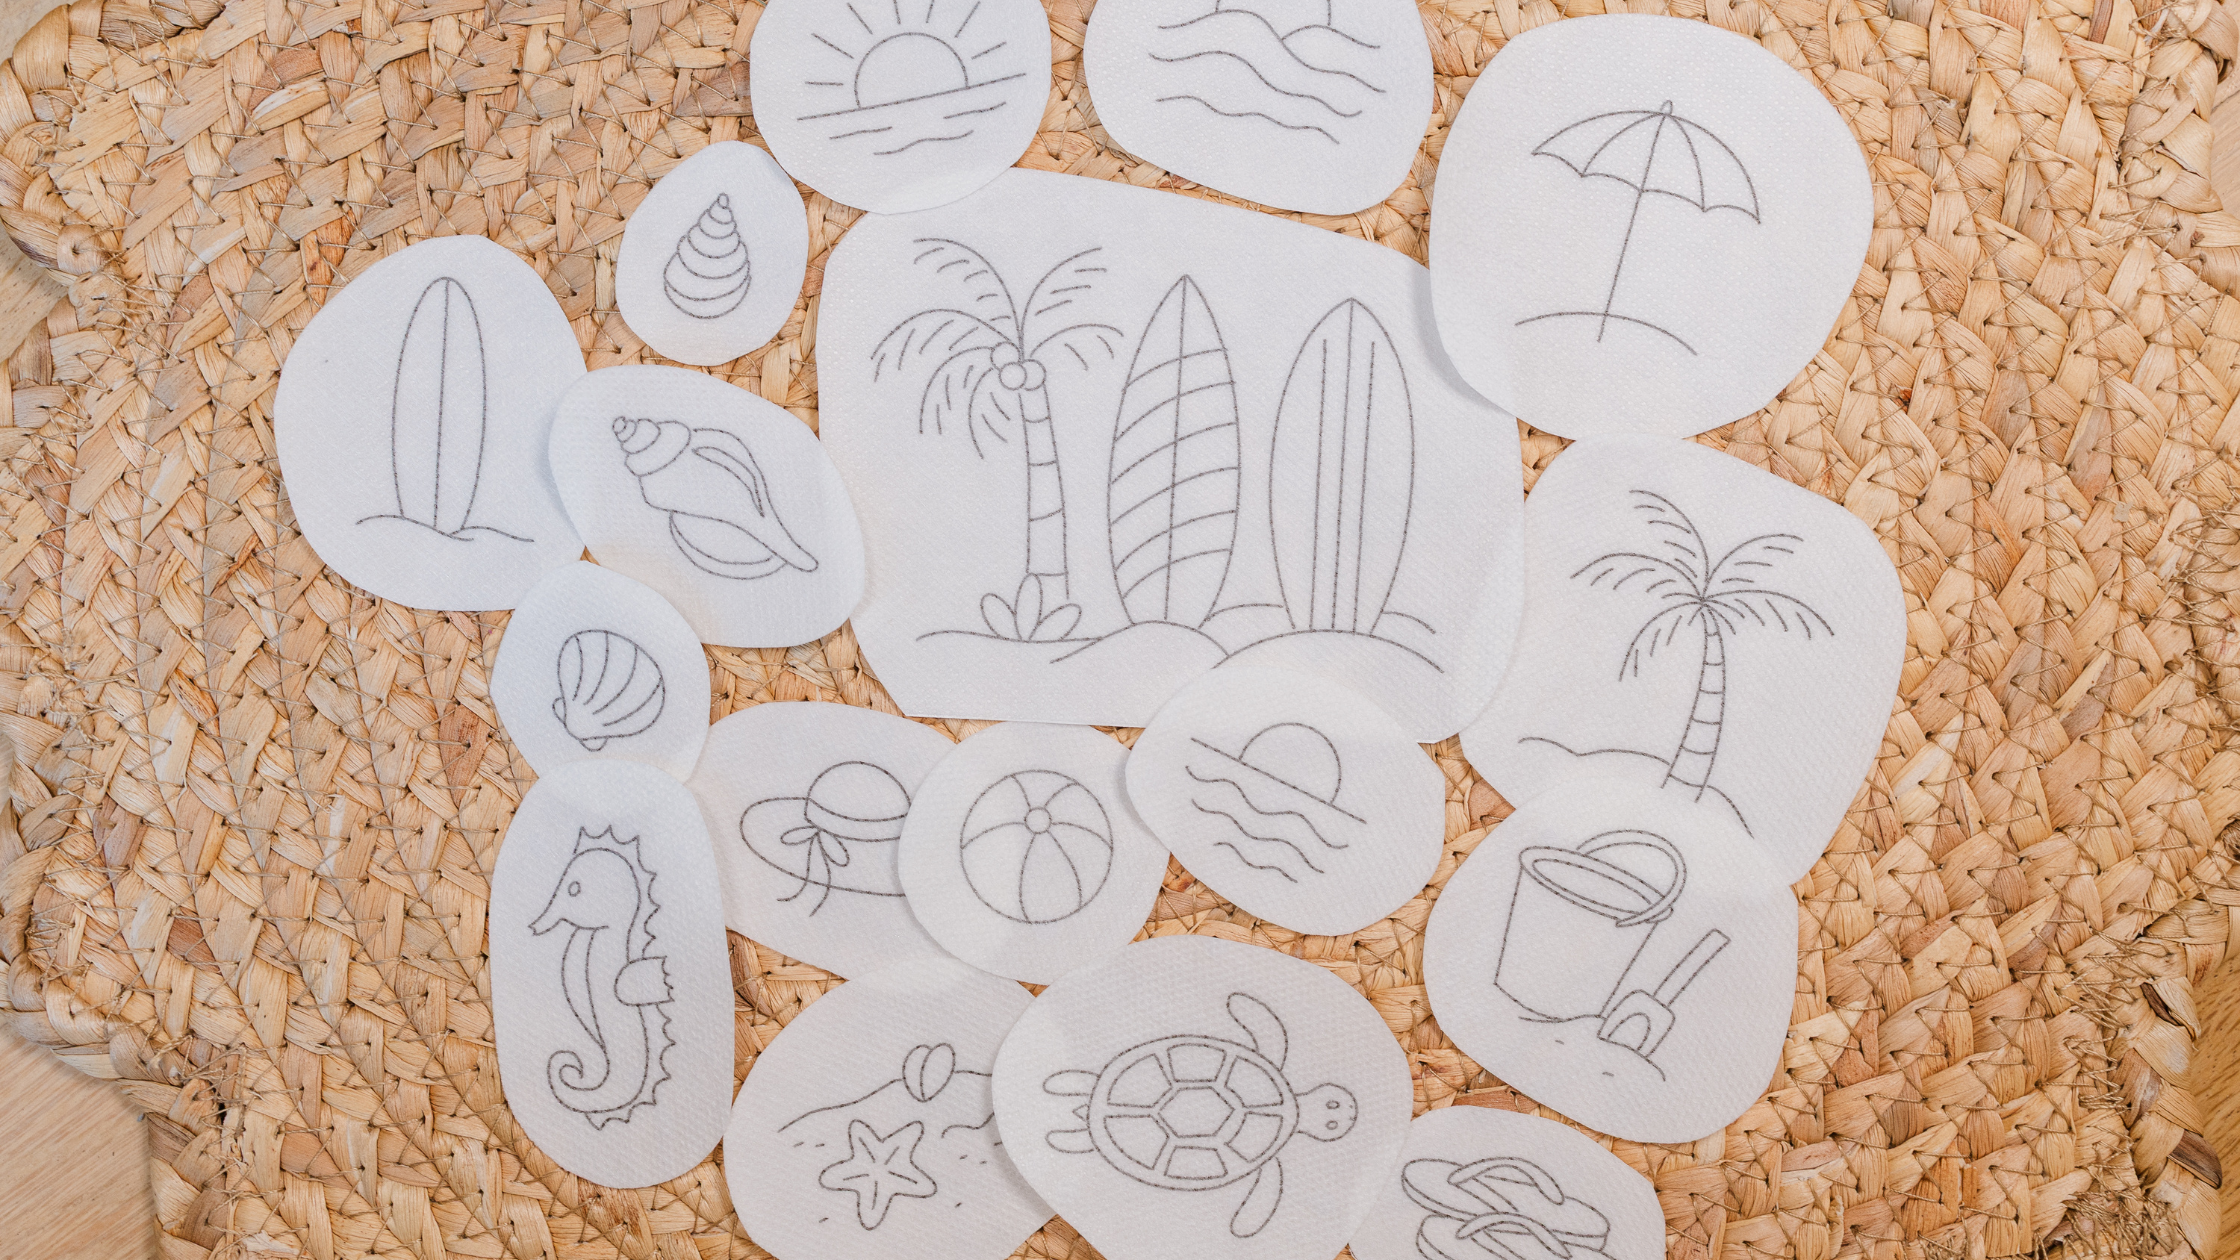
Stick and stitch embroidery patterns (also known as wash-away embroidery stickers) are pre-printed designs on a special dissolvable stabilizer.
Simply peel, stick, stitch, and rinse—it’s that easy!
They’re perfect for adding handmade touches to:
- Denim jackets, jeans, and tote bags
- T-shirts and baby clothes
- Hoop art or fabric wall décor
- Tea towels, napkins, or pillow covers


🧺 Supplies You’ll Need
Gather these embroidery essentials before you begin:
- Your favorite stick and stitch pattern — try one from The Stitched Storybook on Etsy
- Fabric or clothing item you’d like to embroider
- Embroidery hoop
- Embroidery floss in your chosen colors
- Embroidery needle
- Small scissors
- Bowl of warm water (for rinsing away the stabilizer)

✂️ Step-by-Step: How to Use Stick and Stitch Embroidery Stickers
1. Prepare Your Fabric
Wash, dry, and iron your fabric if needed. Place it securely in your embroidery hoop.
2. Stick Your Design
Cut out your design and peel off the backing.
Position it where you’d like the embroidery to go and press it gently onto the fabric.
3. Start Stitching
Thread your needle and begin stitching directly through the sticker.
The stabilizer helps keep your stitches neat and even!
💡 Tip: New to embroidery? Start with basic stitches like the backstitch, satin stitch, and French knot.
4. Rinse Away the Sticker
When you’re done, trim excess stabilizer and soak your fabric in warm water.
The sticker will dissolve completely—leaving only your beautiful stitches!
💡 Tip: Warm water works best for removing the sticker and residual ink. I have started using a little dab of dish soap to my fingers while soaking it, to gently remove the sticker and ink, and it has help a lot with preventing stains! Be sure to rinse really well. Once it dries, it is more difficult to remove the ink stains.
5. Let It Dry and Admire Your Work
Lay flat to dry, then press lightly with an iron (place a cloth on top to protect stitches).
You now have a completely customized, handmade piece of embroidery art!

🌷 Tips for the Best Results
- Use shorter strands of floss (around 18 inches) for cleaner stitches.
- Usually 1-3 strands of floss works best, because it can be difficult to pull through more strands through the sticker and fabric.
- The needle can feel a little sticky after a while, so just wipe it down occasionally.
- Rinse and remove sticker well.
- Let your piece fully air dry before framing or wearing.
- Mix and match multiple small designs to create your own layout!
✨ Why You’ll Love Stick and Stitch Embroidery
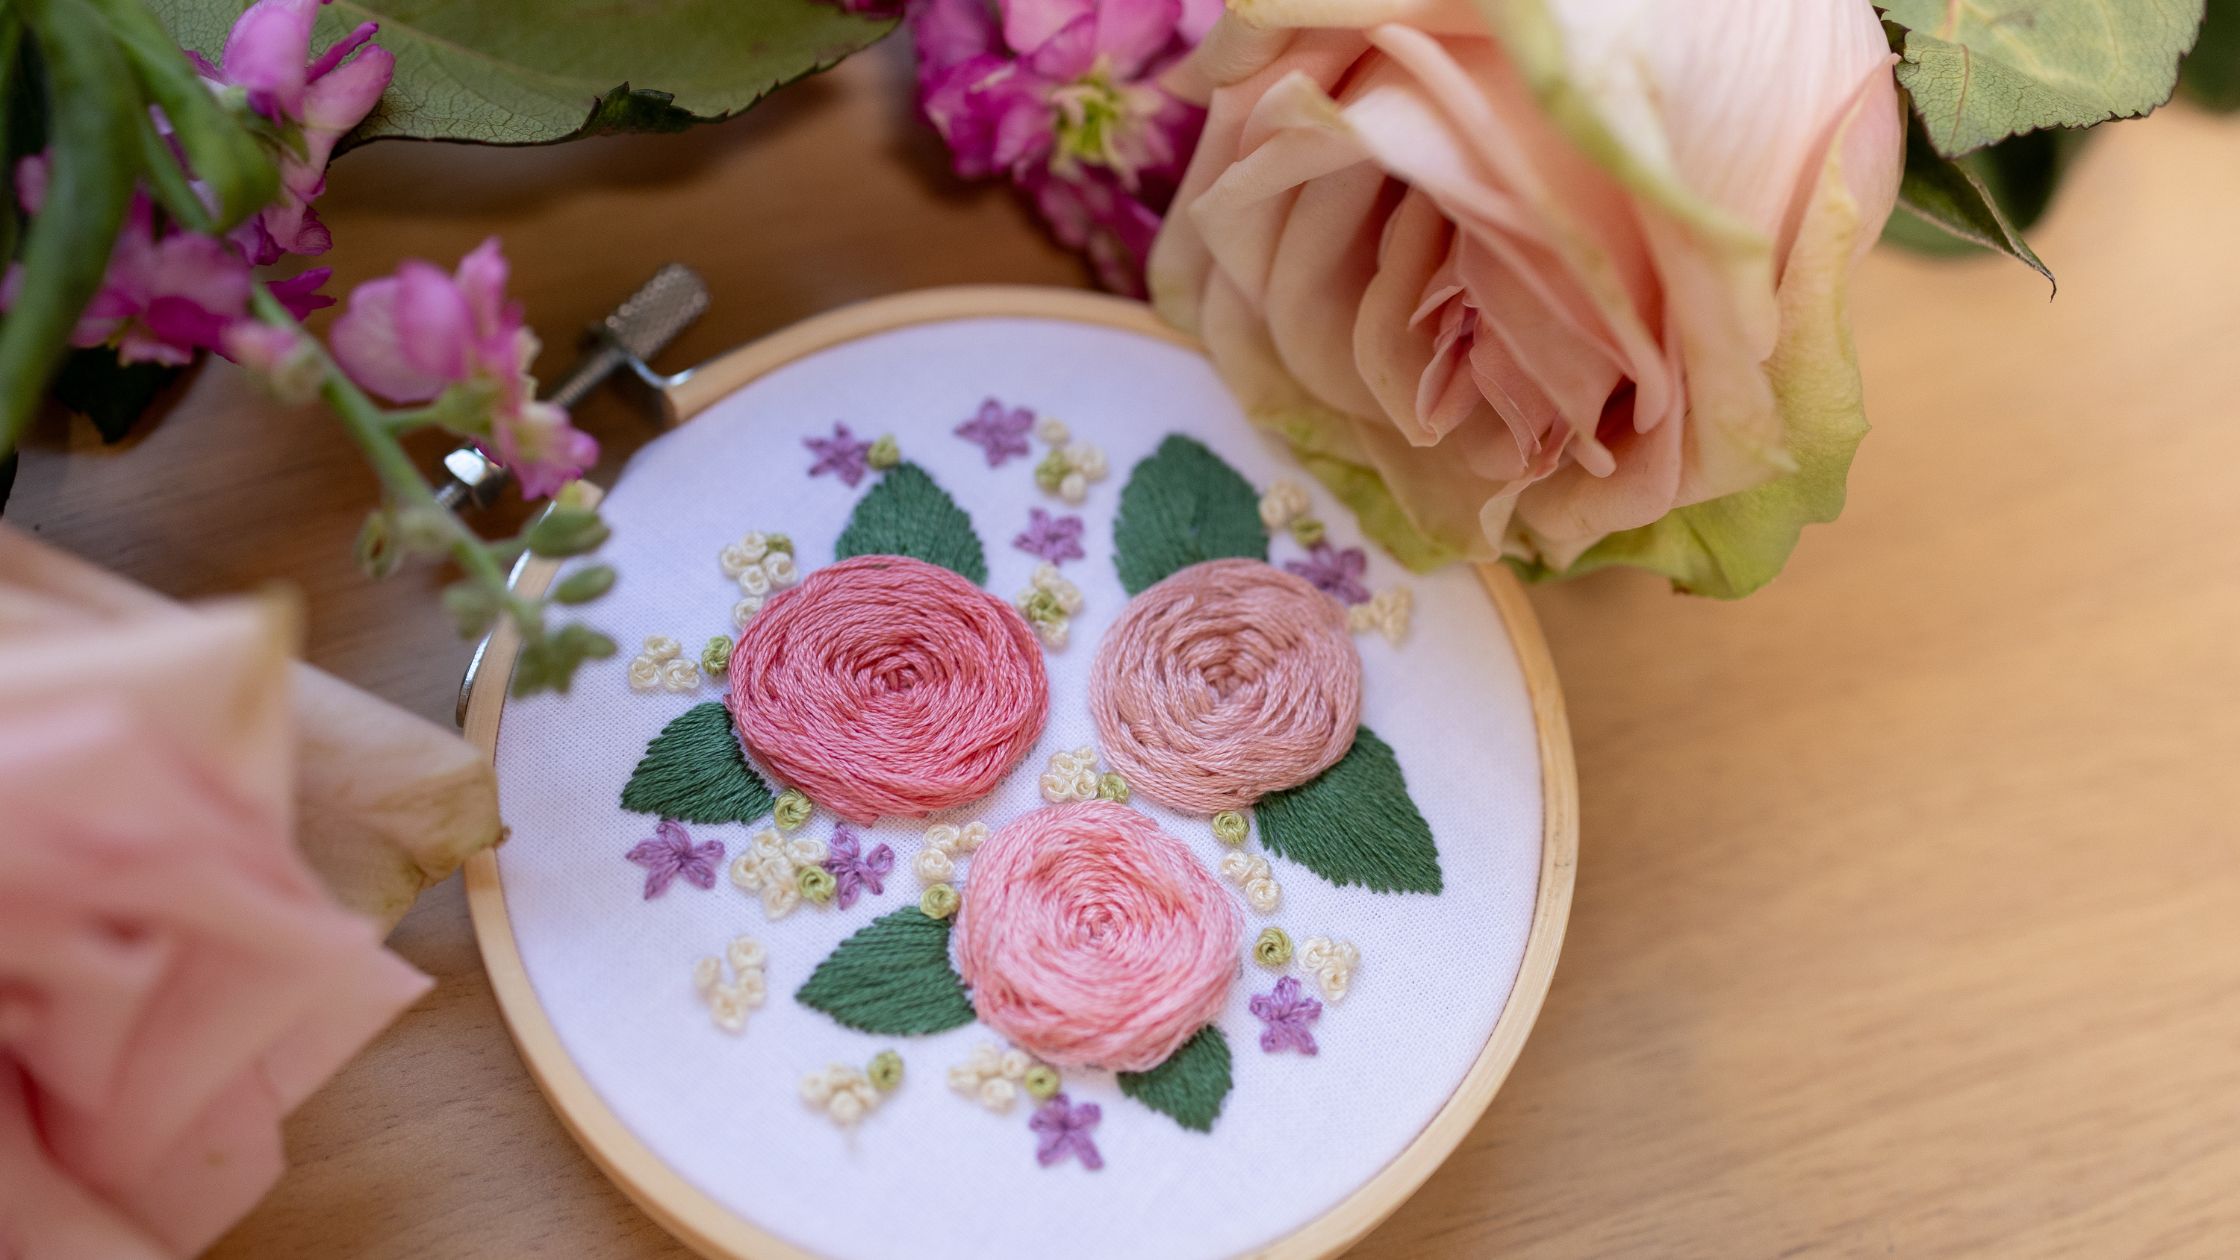
Stick and stitch embroidery takes away the hardest part—transferring patterns—so you can focus on what’s fun: stitching!
Whether you’re decorating a denim jacket, adding cute florals to baby clothes, or relaxing with a creative hobby, these peel-and-stitch designs make it effortless.
🛍️ Ready to Start Your Next Project?
Browse my latest stick and stitch embroidery patterns and printable PDF designs at
👉 The Stitched Storybook on Etsy
Each pattern set includes:
- Whimsical, storybook-inspired artwork
- Beginner-friendly motifs
- A free basic stitch guide
Let’s make something beautiful together!

Leave a Reply