

DIY Felt Gift Tags with Embroidery (Free Template + Tutorial)
There’s something extra special about adding handmade touches to your holiday gifts — and these embroidered felt gift tags are the perfect way to make your presents truly stand out! They’re simple to make, completely customizable, and use patterns from my Etsy shop, The Stitched Storybook.
In this post, I’ll show you how to embroider, cut, and sew your own felt gift tags, and you can grab the free printable template below to get started!
✂️ Supplies You’ll Need
- Felt sheets (in your favorite colors — wool blend or acrylic felt work great)
- Embroidery floss (coordinate with your felt colors)
- Embroidery needle
- Scissors
- Ribbon or twine for hanging
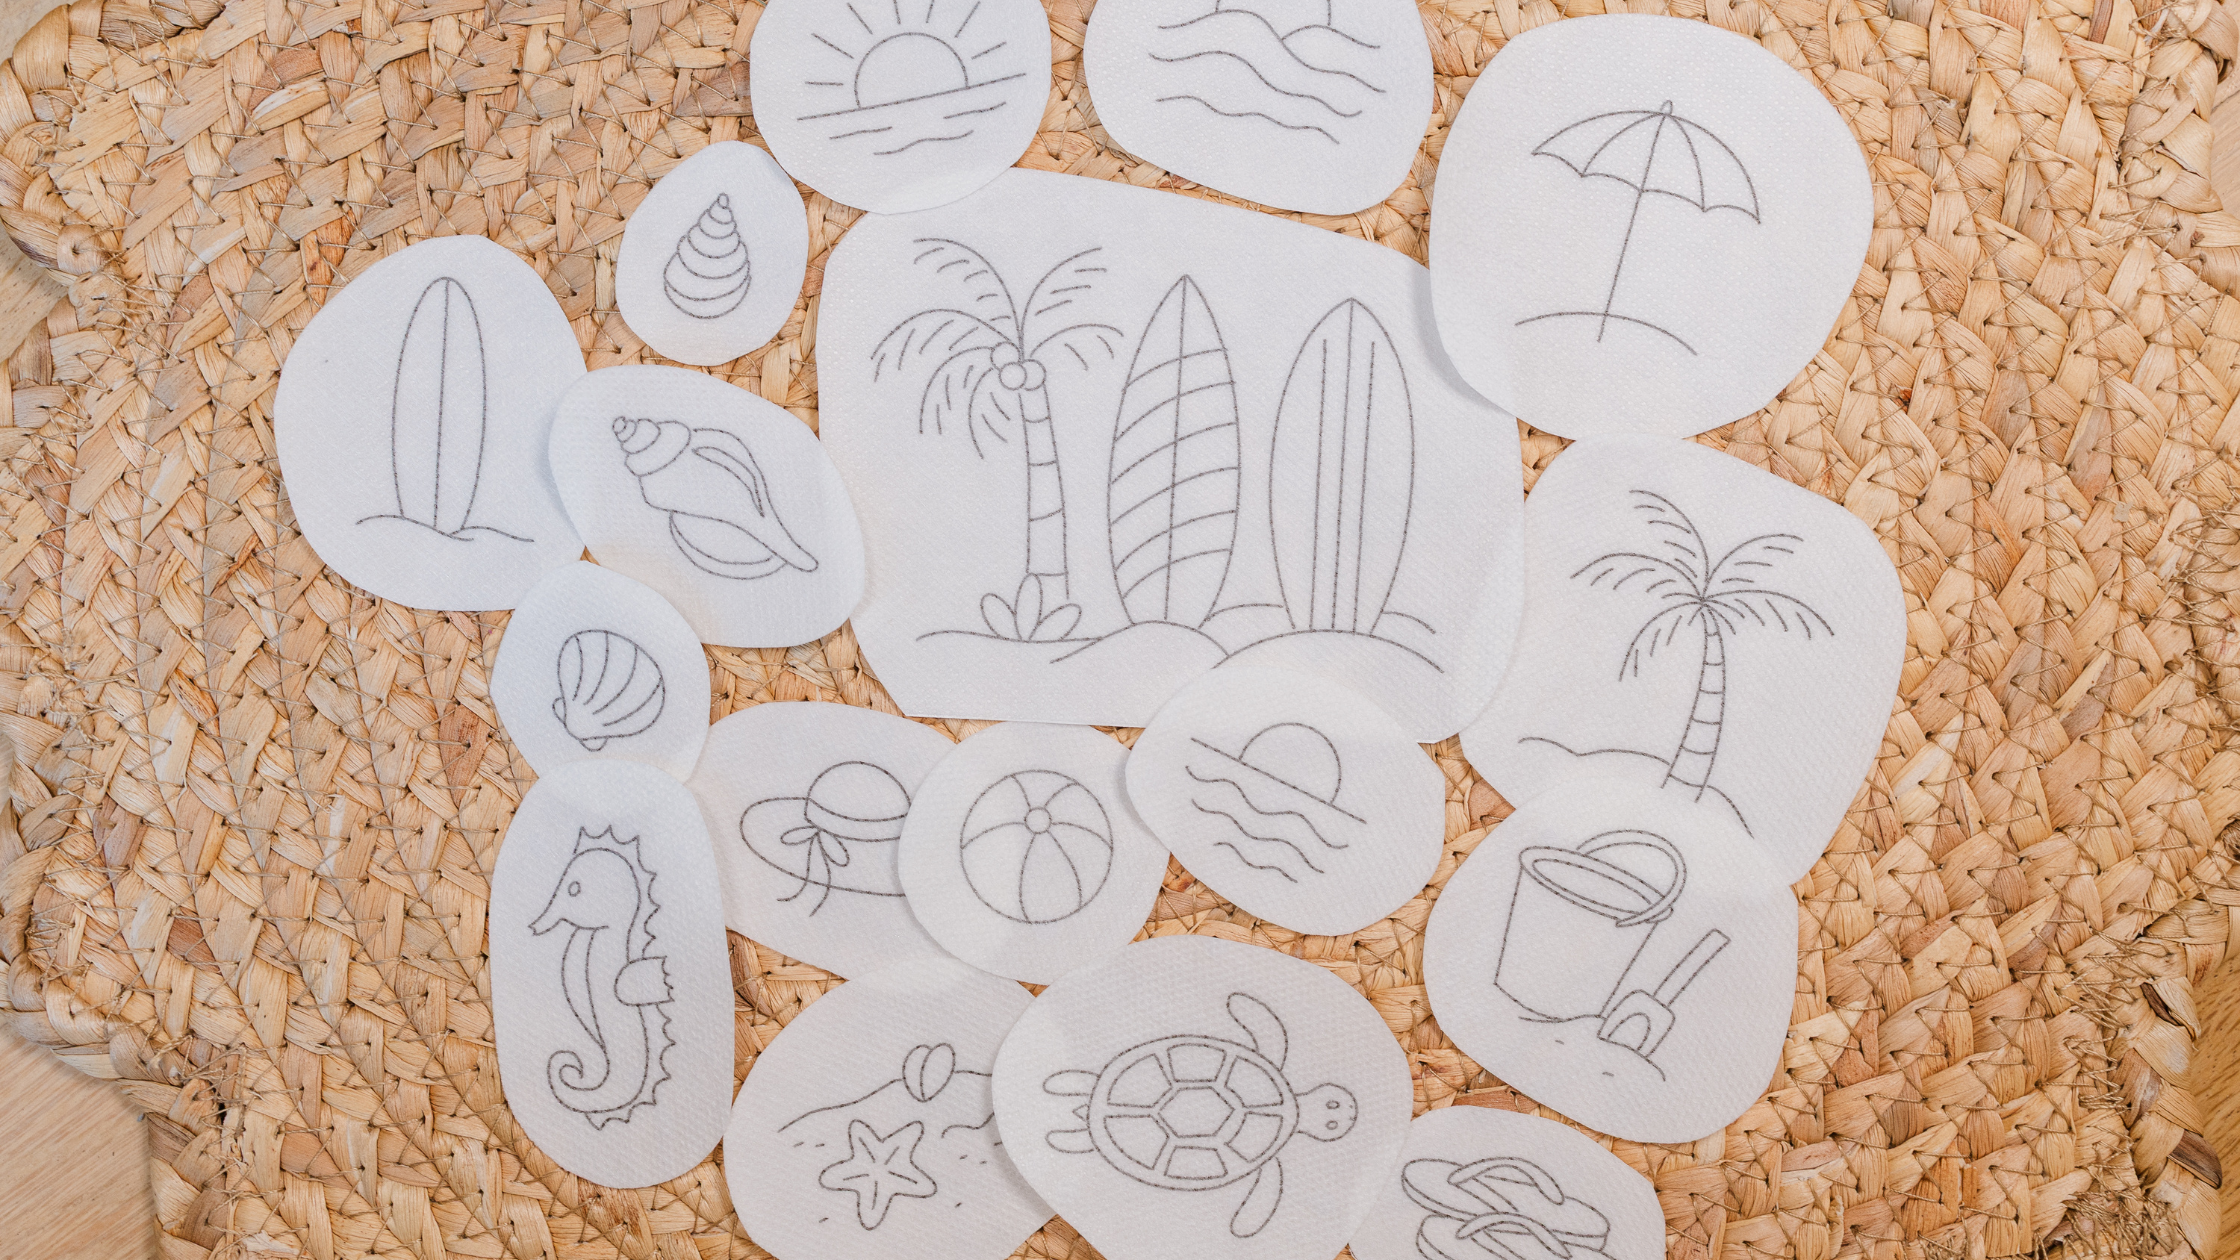
- Stick and stitch embroidery patterns or printable designs from my Etsy shop
- Free gift tag template (download link below)
🪡 Step-by-Step Instructions
1. Download and Cut Out the Template
Start by downloading the free felt gift tag template. Print and cut out the shapes. Trace each tag shape onto your felt. I prefer to wait and cut the felt after finishing the embroidery, because I like to use a hoop. You don’t have to use a hoop for felt, but I find that it is easier for my hands to grip better.
2. Add Your Embroidery Design
Choose your favorite design from my stick and stitch embroidery pattern sets — there are so many cute options for the holidays, from woodland animals to cozy Christmas motifs!
Stick or trace your design onto the felt tag, then embroider using your favorite stitches. I love using back stitch, satin stitch, and French knots for texture and detail.
Optional: You can also sew in some beads to add some flare.
For this pattern, which is from one of my Christmas Collections, listed here, I used 3 strands each of DMC 3345, 3801, and 779. You can see the process of using the stick and stitch pattern here:
3. Assemble the Tag
Once your embroidery is complete, cut out a second piece of felt in the same shape for the back. Cut out a small piece of cardstock (I used an index card), approximately 1.5 in x 2 in. Place in the center and mark dots where to put straight stitches to hold you card in place. Layer the two pieces together, back sides facing and use a blanket stitch around the edges to join them. You can follow along with this video here.
4. Add the Finishing Touches
Thread ribbon or twine through the center top blanket stitch, to be able to tie to the gift or to tie a loop to hang on your tree.
🎁 Ways to Use Your Felt Gift Tags
- Attach them to Christmas gifts for a handmade touch
- Write names or short messages on the cardstock on the back.
- Reuse them each year as keepsake ornaments
- Add them to stockings or as part of your holiday décor
📥 Download the Free Template
You can download the free printable felt gift tag template here:
👉 Download Free Template PDF
And if you’d like to use the same embroidery patterns featured in this tutorial, visit my Etsy shop:
🧵 The Stitched Storybook on Etsy


📸 Share Your Creations
If you make your own felt gift tags, I’d love to see them! Tag me on Instagram @thestitchedstorybook so I can share your creations.
Pin this tutorial for later!


Leave a Reply